Content
- Hairstyles with a rim: features
- Hairstyles with a rubber rim on long hair
- Hairstyles with a rim on the collected hair
- Hairstyles with a rim: tips from professionals
If you have something to decorate your hair with, you just don’t know how to do it. This article will describe the types of hairstyles with a rim on different hair.
Hairstyles with a rim: features
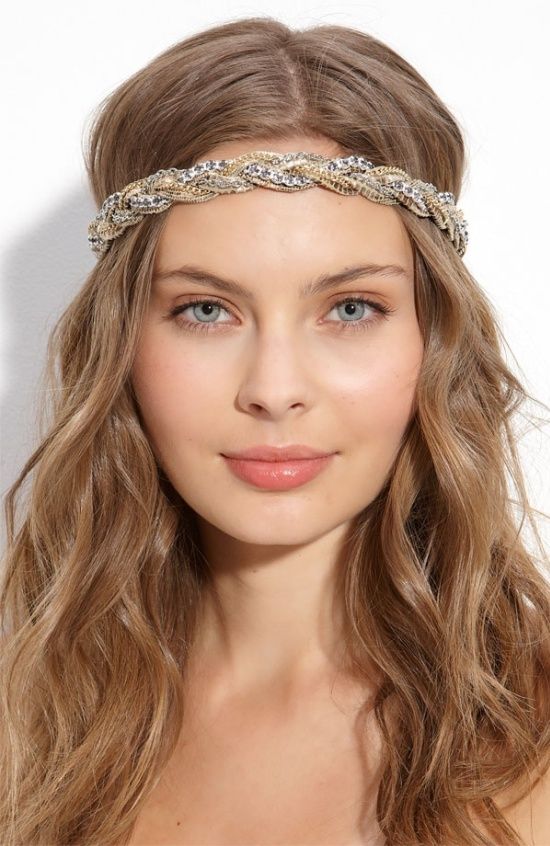
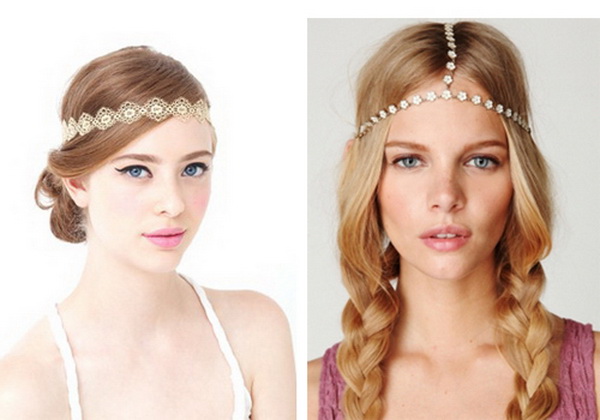
All kinds of hair ornaments are beautiful in their own way and many are universal. The bezel is one such. It can be worn both on very long hair and on very short.
There are several varieties of rims, which are divided into types of:
– solid in the form of a circle, where on the front of it is a decorative ornament, and on the back there is an elastic band;
– the rim in a semicircle, as a rule, it has a rigid plastic base, decorated with something, which, due to stiffness, rests on the hairstyle;
– metal and plastic.
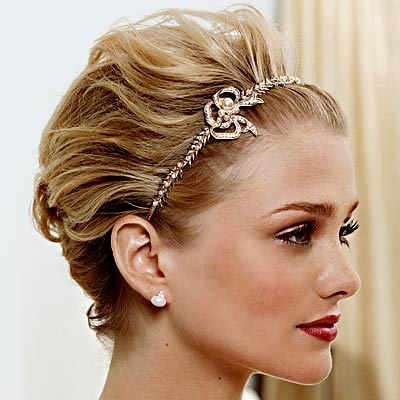
Headbands made of metal are heavier and more expensive than conventional plastic headbands, but look much more spectacular.
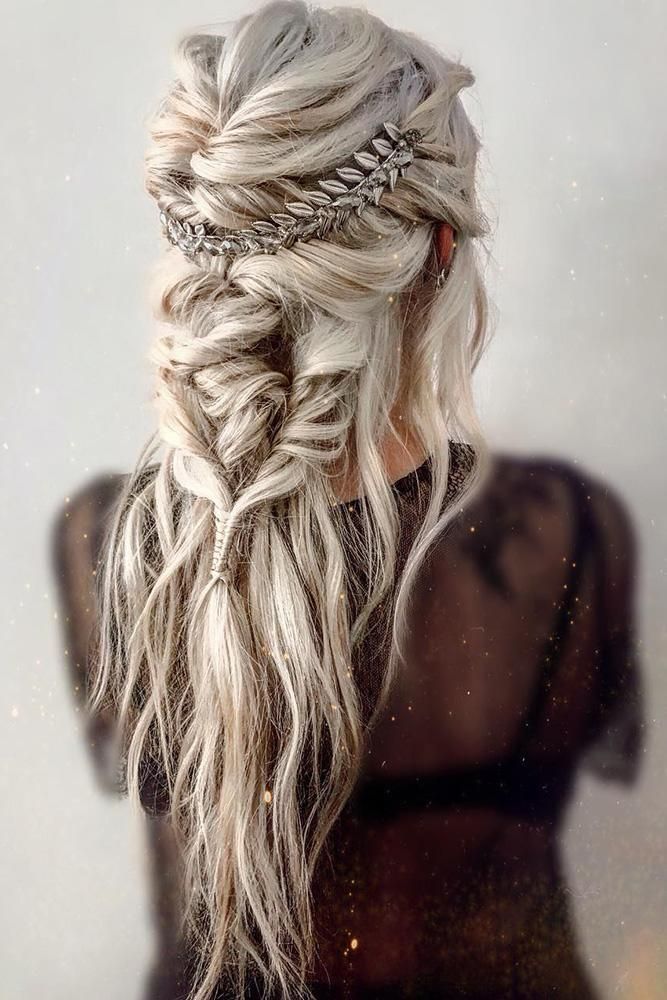
Hairstyles with a rubber rim on long hair
With both short and long hair, hairstyles with a rim are amazing.
Slav
This hairstyle is more suitable for the evening version..
Stage 1
We need a curling iron and a rubber band. Comb your hair and curl it into curls with a curling iron or curling irons. Coat the entire length of the hairspray.
Stage 2
Put on the top of the head a beautiful rubber band and lower it to the middle of the forehead. Having reached the desired location, slightly raise the bezel back to the crown, without taking it off your hair. So you can give the hairstyle more volume and piquancy. It is desirable that the rim of your choice fits the outfit, so the image will be more effective.
Braid with a scythe and tail
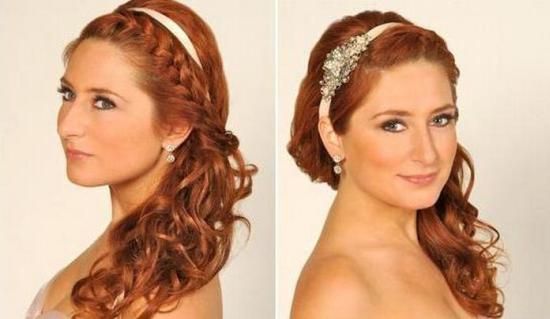
In order to make such a hairstyle you need to decide which rim you will decorate your head with. Here you can use both an elastic band and a regular plastic semicircular.
Stage 1
Divide all hair into two sections. The first strip of hair passes through the head from one to the other temple, and all the rest remain behind. It would be better if you temporarily put them in a ponytail.
Stage 2
From the part of the hair that is located near the forehead, a braid is braided. Choose the style of weaving for yourself. You can make it in both ordinary and reverse weaving.
Hair on this part of the head starting from the temple or a little higher is combed to one side. On the side from where the hair was combed, three strands stand out and weaving begins. With simple weaving, the outermost strand lays on the middle one, and with the reverse weaving style, the outermost strand falls under the middle strand. In the process of weaving, the main strands are complemented by free hair, gradually gathering into one common braid.
Braid the braid to the opposite beginning of the temple and fix with an elastic band.
Stage 3
The hair remaining on top of the head is freed from temporary fixation and combed. You could start working with already curled curls, in which case they do not comb, but straighten your hands.
If you have chosen a solid bezel in the form of a circle with an elastic band, then at this stage he dresses and lays down in his place immediately. If your choice fell on the classic bezel in a semicircle, then put it aside, until it is needed.
Raise the hair at the crown and do not pile large or spray the roots with varnish to fix it. You can combine both methods at the same time. Wait for the varnish to dry. Gently smooth the surface of the crown with a thin comb and, without pressing the hair, tie it into a tight tail.
Stage 4
Curl not the curled ends of freely falling hair, but if there are already curls, then correct them and sprinkle with varnish. Carefully put the bezel in a semicircle exactly on the seam that separates the braid and other hair.
Fluffy braid
This seemingly complex hairstyle combines several simple.
Stage 1
Comb your hair and give it volume. It will be better if you do not pile big or lift the roots with varnish.
Stage 2
Put on the bezel. It should lie either on the roots of the bangs, or a couple of centimeters lower.
Stage 3
Wrap the side strands of hair under the rim once or twice at your discretion. If you do this once, the back of the headband or elastic will be visible on the back of the head. And if you wrap it with hair several times, and even wrap it once in the middle with the back strand, you can hide the rim under the hair and it will not be noticeable. Braid the remaining free hair and the ends of all the locks from the rim into a braid.
Stage 4
You can slightly fluff the braid with your fingers for volume and lift the rim from the sides 1 cm higher to get a light wave.
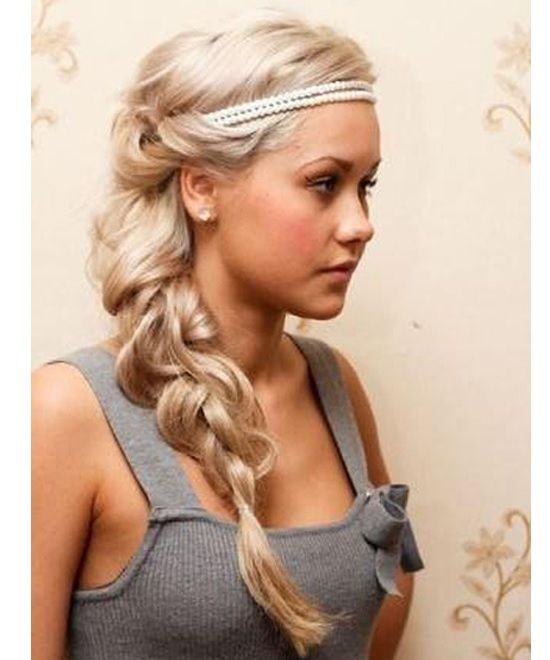
Hairstyles with a rim on the collected hair
Greek style
Stage 1
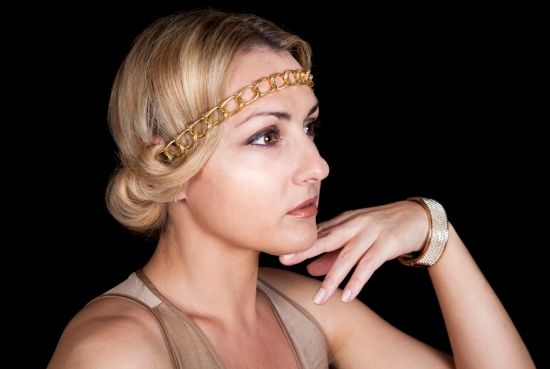
To make a hairstyle with a rubber rim in the Greek style, carefully comb the hair. The picture shows the chain, and an elastic band is hidden under the hair, therefore, no matter what the round bezel is decorated with, it will definitely be with an elastic band. Otherwise, will not be able to stay on my hair.
Stage 2
Take a round rubber bezel and put it on your head to the middle of your forehead. Straighten your hair so that your face is open.
Stage 3
Hide the hair below the rim under the rim. Carefully wrap the strands behind the rim, start from the face, gradually move to the back of the head. The hair should bend around the rim and hide the ends so that they would not look out. It is advisable to do this from different sides in turn. First one curl on one side, then the same curl on the other side.
If you have long hair, then after a few turns, the free edge of the hair can be braided into a not tight braid and screw the remaining curls.
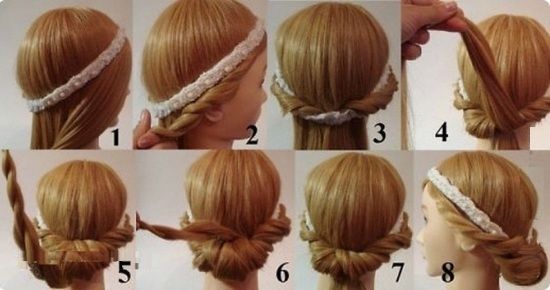
Stage 4
Fix the hairstyle with varnish to keep it all day.
Double decoration
In the creation of this hairstyle, a special double rim or single is involved, only in double quantity.
Stage 1
Comb all the hair and collect it in a ponytail on the top of the head. Make their tail a bag or a bump of hair. The bottom line is to collect and fix the hair on the top of the head, and in what way, you decide. Also for this rim a shell from hair is suitable.
Stage 2
Pick a comb with a thin end, and pull the hair slightly from root to tail. For accuracy do not worry. The more careless you manage to stretch your hair, the more beautiful your hair will look.
Stage 3
At this point, a double bezel is put on. It is important that one edge lies slightly higher than the ends of the bangs, and the other edge in the middle between a bump of hair and a bang. Make a hair assembly between the rims so that a wave is formed. The brighter the transition from the wave to the rim, the more spectacular the hairstyle looks..
You can wear more than one double bezel on such a hairstyle, in this case you will get a lot of small waves on the head.
Hairstyles with a rim: tips from professionals
• Take care of your hair when you start to wear a rubber band. They can spin, and then you have to unravel them for a long time.
• For delicate hairstyles, choose thin stylish rims, and for massive you can use wider but flatter rims. Do not buy those massive rims that have long gone out of fashion, because with them you will look like a grandmother. And no hairstyle can fix it already.
• Try to fix with varnish even the simplest hairstyle with a rim. So the rim will hold on tight and the hair will not be able to tear.