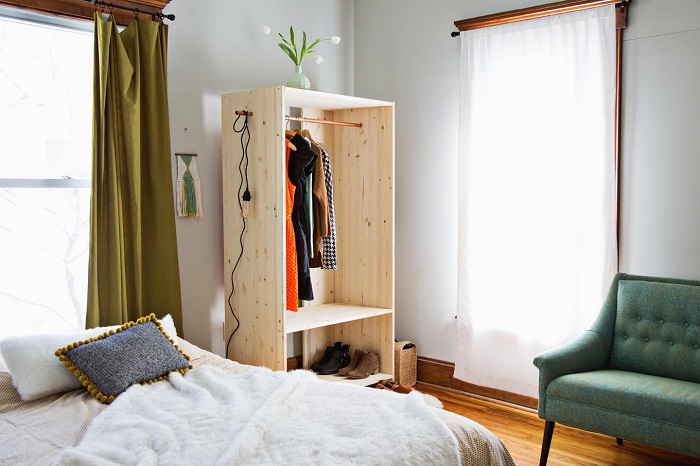
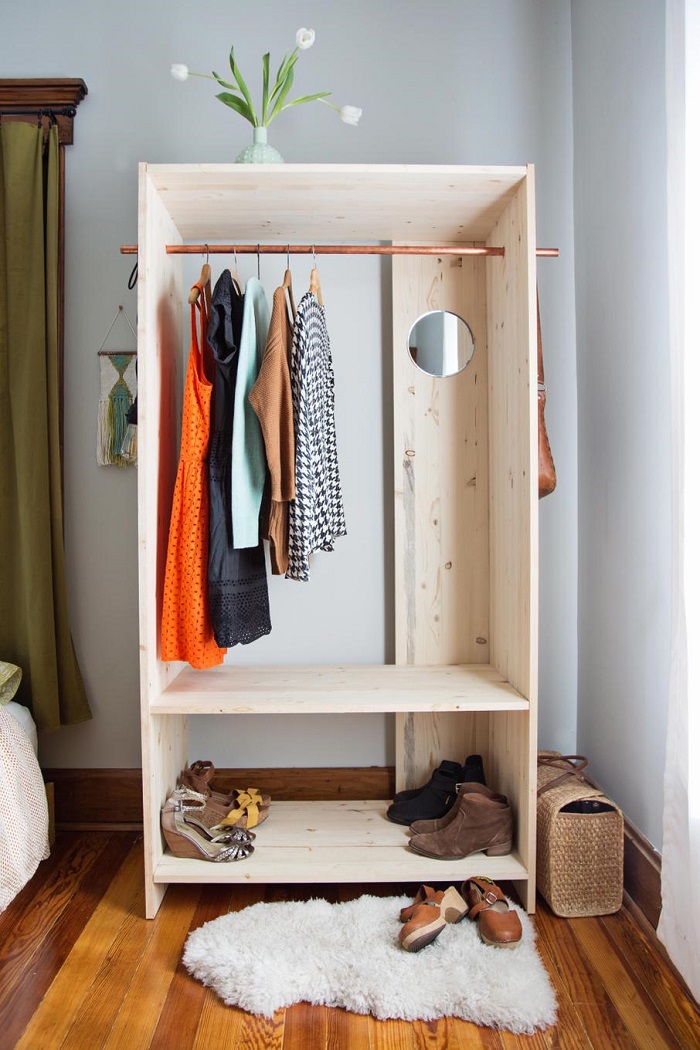
Very simple! Such furniture for the evening is assembled even by those who did not hold a hammer in their hands in life. A few hours of work, and a stylish closet from the cover of a fashion design magazine will appear in your home.
You can clearly follow our instructions, or you can choose your sizes, add more shelves, hooks, and even hang cabinet doors on the hinges. This will be a completely different model.!

In order to make a cabinet yourself, you will need.
To order a cut of plywood 2 cm thick:
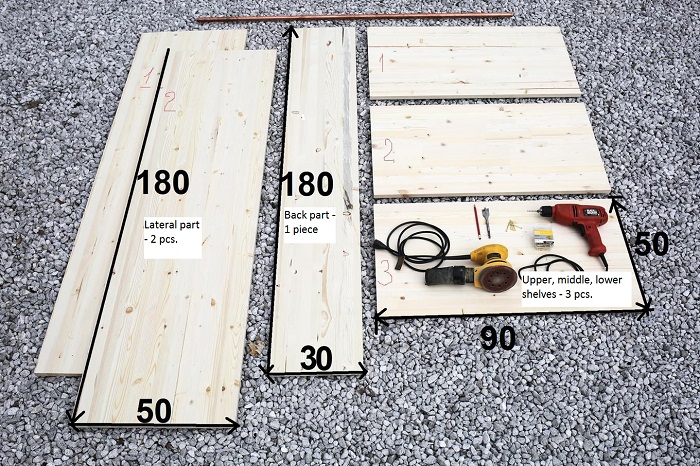
50 cm x 180 cm – for the side walls – 2 parts;
50 cm x 90 cm – for the shelf, top and bottom – 3 parts;
30 cm x 180 cm – for the back wall – 1 part;
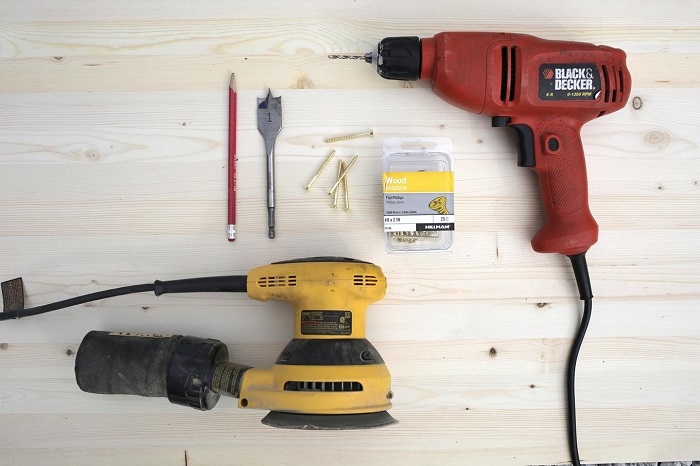
Tools:
1. copper or chrome pipe;
2. wood screws;
3. round mirror with a diameter of 20 cm (optional);
4. electric drill and drill;
5. grinding machine or sandpaper;
6. screwdriver;
7. Building roulette;
8. ruler.
DIY cabinet
Buy a sheet of plywood 2 cm thick at the construction supermarket and immediately ask him to cut it to the size you need. The only thing to do when you bring the cut parts home is to clean them well with sandpaper or a grinder..
One!
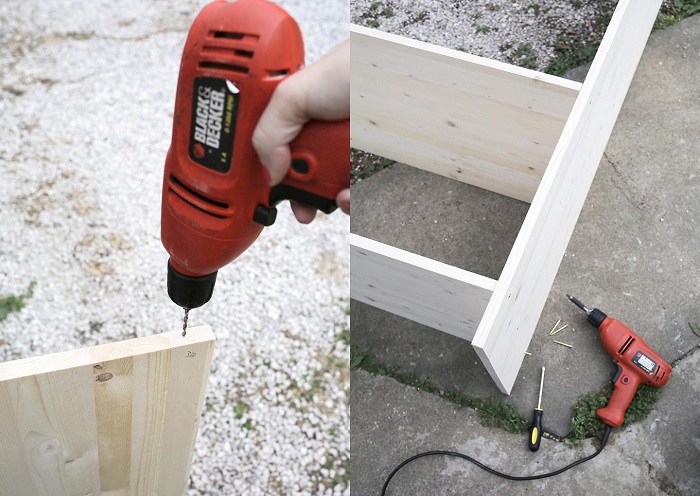
On the side parts from the bottom edge, measure 2.5 cm up and draw a horizontal line – there will be a lower part, the bottom of the cabinet. Measure another 50 cm up and draw another horizontal line – there will be a shelf in the cabinet. In principle, the height of the shelves you can choose your.
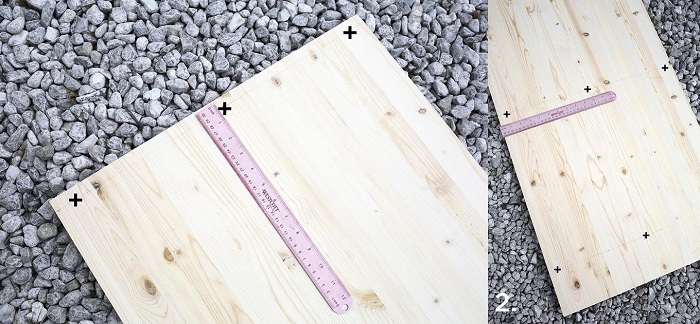
On the same lateral parts, measure 12 cm from the top edge and draw a third line – at this level there will be a crossbar for the shoulders. Find the center of the line and mark it with a cross – here you need to drill a hole into which the pipe will fit tightly.
—————————————————————————————————————————————
Check again that you have correctly duplicated all marks on both side parts: there should be no differences!
—————————————————————————————————————————————
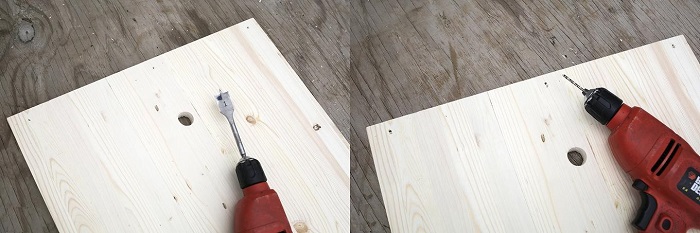
We drill a hole for the pipe in one side part, put a second under it, circle with a pencil, drill in the second.
Two!
Putting the whole cabinet together. First, we attach the upper, middle and lower shelves to one side part. After making sure that everything is in place, attach the second side part, and at the end the back.
It is better to drill thin holes first, and then put everything on self-tapping screws.
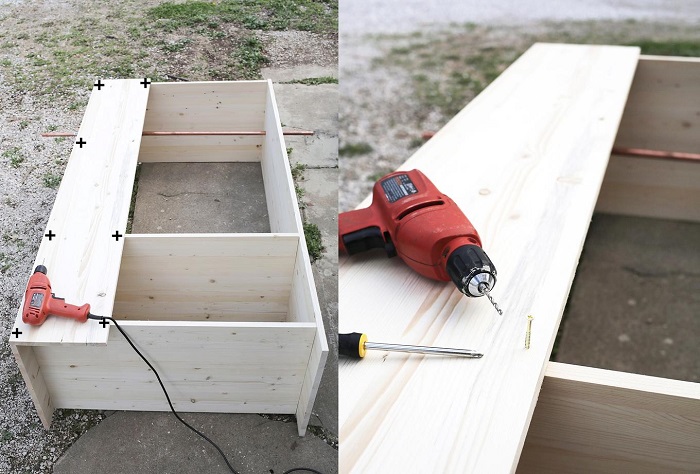
Do not screw the screws to the end until you are sure that everything is in place.
————————————————————————————————————————————
Three!
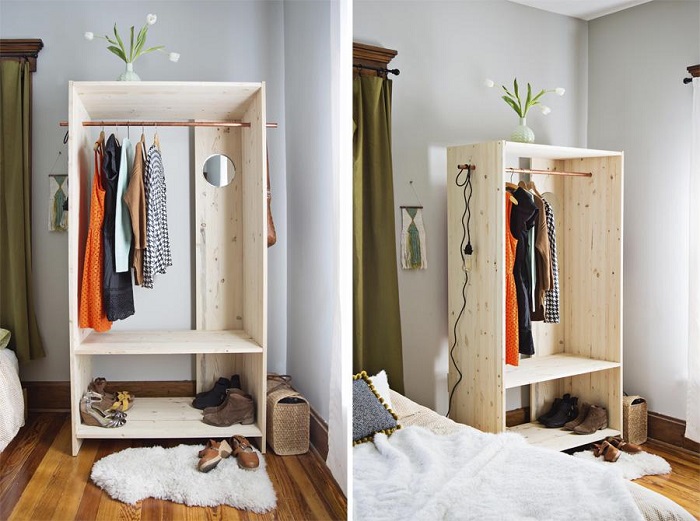
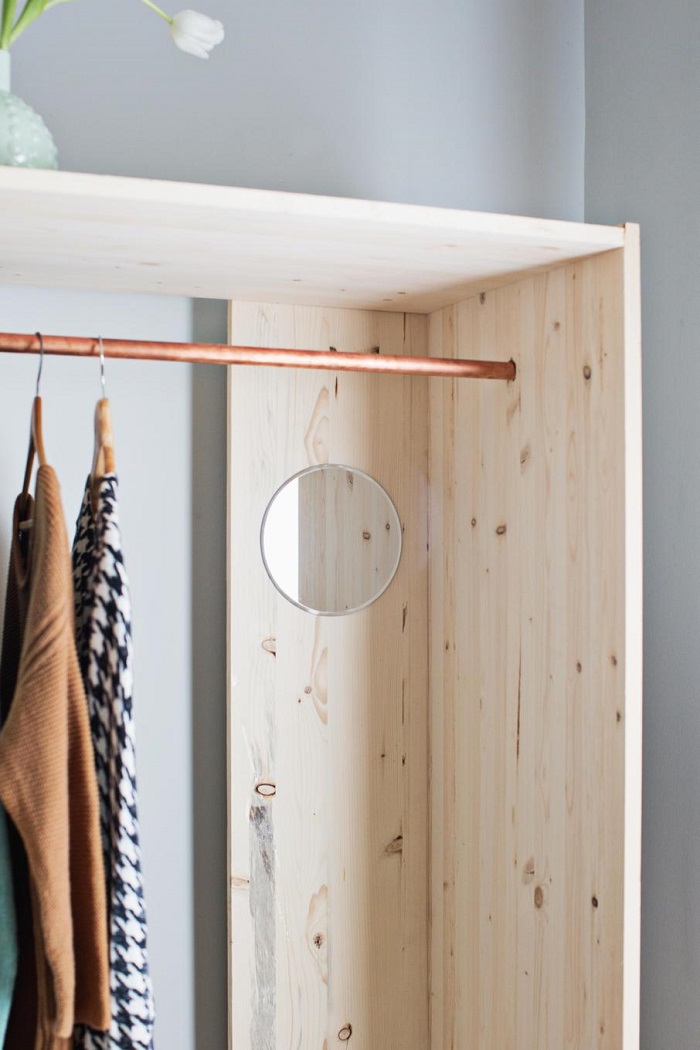
Insert the pipe into the holes, cut it to the desired level, taking into account whether you want to use it also as external hooks. You can glue the mirror on the back or, for example, on the side wall. If desired, additional hooks can be made outside or inside the cabinet, for example, for belts and scarves.
How to paint a wooden cabinet
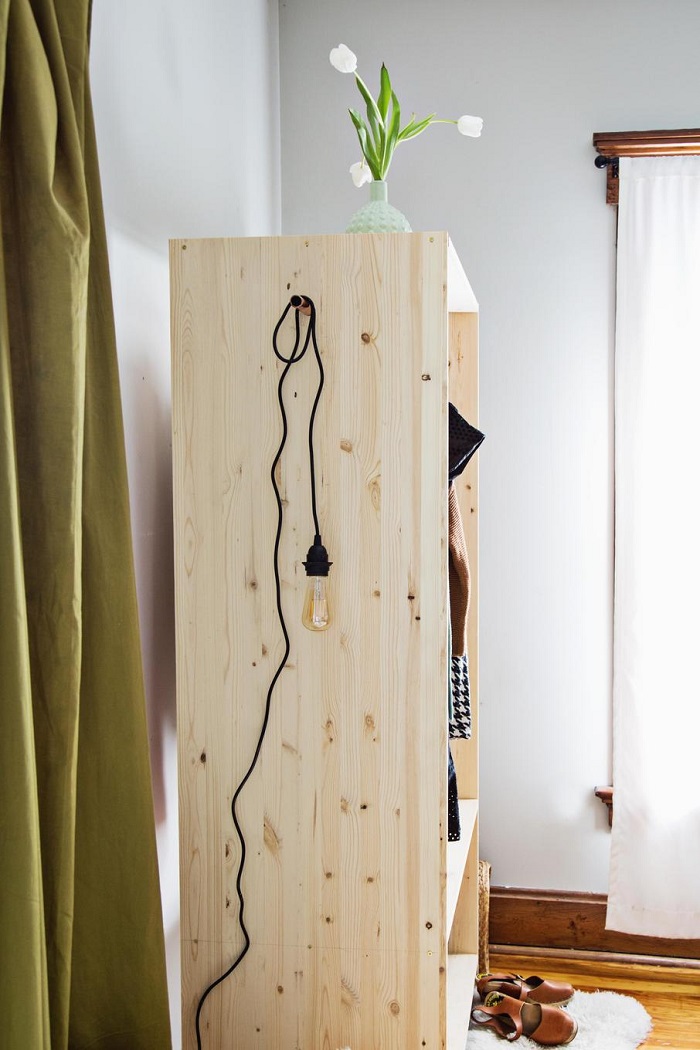
You can get a perfectly smooth wooden surface without changing color – exactly as in the photo – using Wood Oil. Apply oil to the surface so that it is a little more than necessary, wait 15-20 minutes, wipe off excess. If you use oil with wax, do not forget to prime the surface with so-called Oil for surfaces in contact with food..
If you want to turn an inexpensive light tree into a noble “rosewood” or “ebony” – use water-based azure of the desired shade. Apply azure with a brush, wait 3-4 hours, apply a second coat.
If you decide to give the cabinet a bright, overlapping color, use wood paint. You can immediately paint both wood and metal parts with one paint using enamel.
Done!
Good luck!