Let only a couple of weeks have passed since the celebration of the official anniversary of your wedding or romantic relationship, but what prevents you from showing warm feelings to your loved one all year round?
How to make a declaration of love?
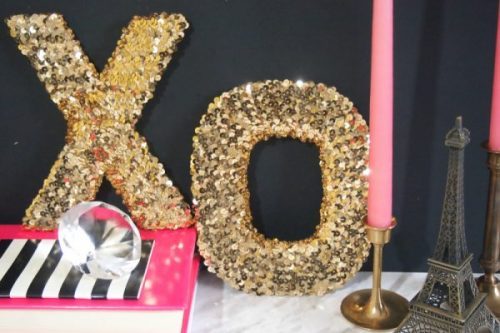
We offer you a project of your own declaration of love, which will decorate your home interior and create a romantic mood.

How to make a declaration of love – a step-by-step lesson
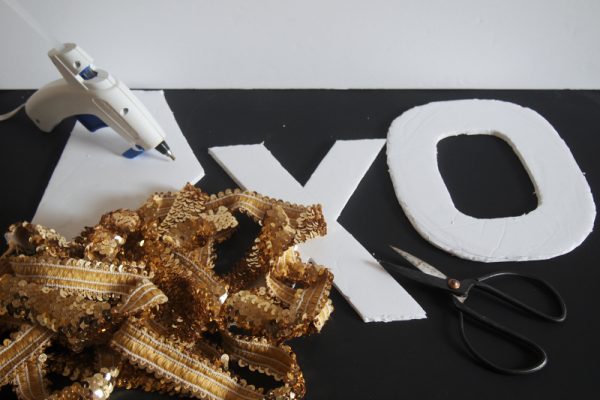
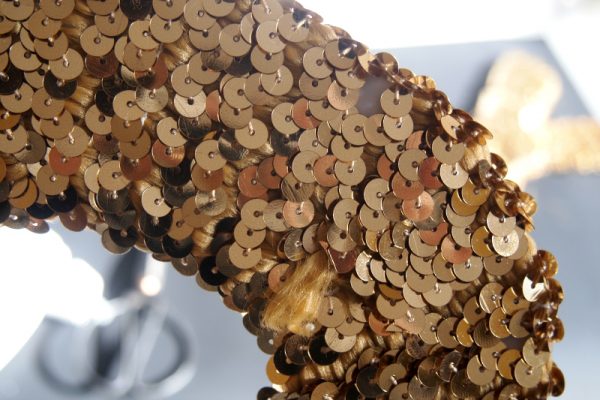
Just than it seems, nothing needs to be glued. You can consider this a slight relief, but on sale you can find ready-made ribbons or cords with sparkles. Something like this:
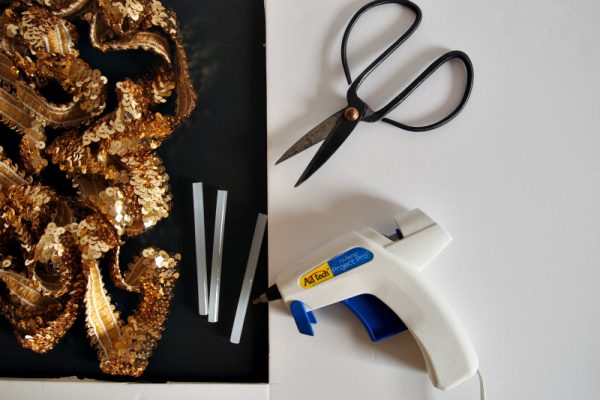
And of course, you will need scissors, a glue gun, a sheet of thick cardboard or polyurethane, what is used in children’s crafts.
First you need to make the letters by the following standards (in the photo – in inches; in centimeters – 5, 7.5 and 5, respectively):
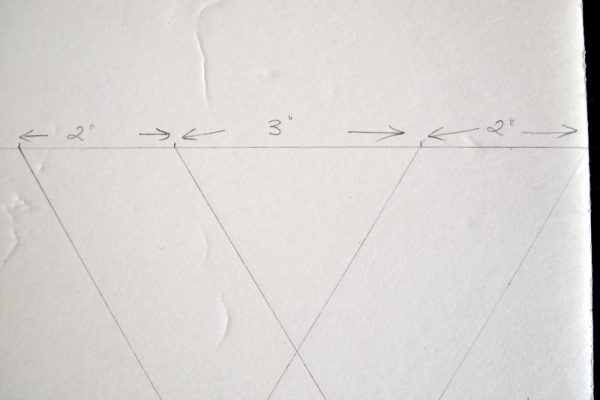
So, the width of the letters is 17.5 cm, the height is 22.5 cm. Writing X is not difficult, but with O you need to be more careful when cornering. Take a letter from a computer or phone keyboard as a sample.

It’s time to cut it out. Scissors will help to cope with the curvings of the letter O, but for X it is better to take a breadboard knife.
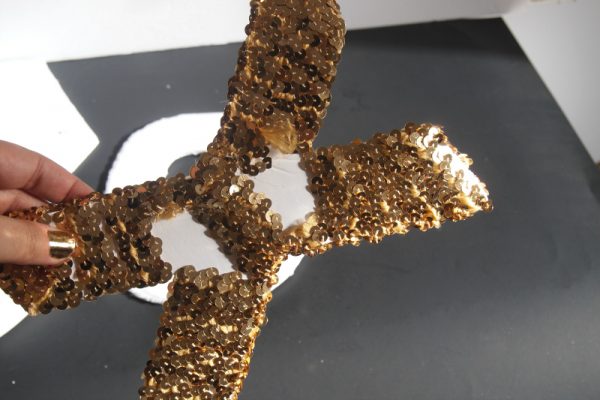
We start decorating with sequins. Put some glue on the back of the letter X. Like this:
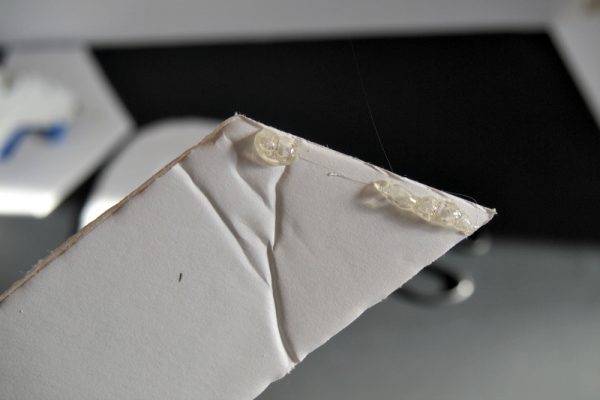
Now glue the end of the tape to the template, press it carefully by pulling (the textile backing is usually elastic).
Wrap the ribbon around the letter, trying not to lay the strips on top of each other, because they are tight enough and the final result may look messy.
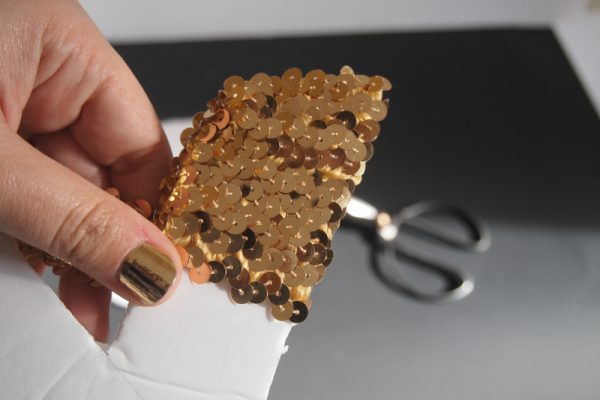
The letter X must be glued in stages, from the edges to the center, each time cutting and securing the ribbon with sparkles. Just wrap the letter O in a circle until you fill in its entire area.
You have already seen the back of the letter X, and now look at the letter O from the same angle.
The front and back are not much different. So if you decide to put letters in front of the mirror, just glue small gaps on the back of X with sparkles, and you’re done!
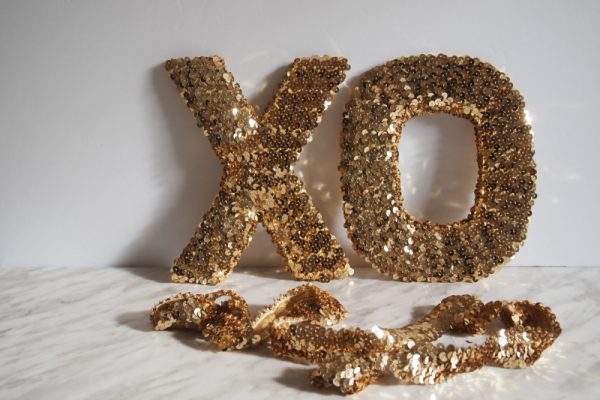
It looks amazing! These letters are simply obliged to decorate your home..