Content
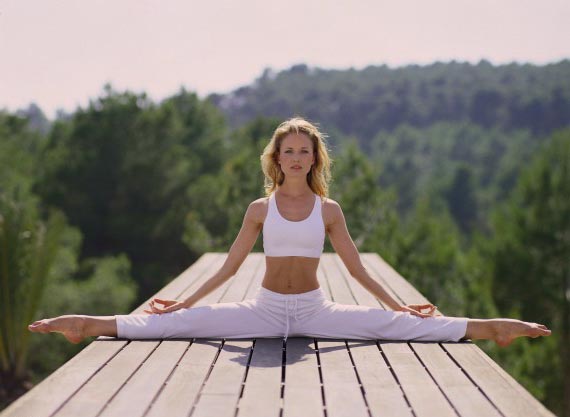
Do you know how to sit on the transverse twine? No? And it’s in vain, because it is this type of twine that gives our health invaluable benefits. It positively affects women’s health, develops joints and muscles of the pelvis, tidies the spine and lower back, and also improves the shape of the legs. Interested in? Effective exercises for transverse twine will help you in this extremely difficult task.
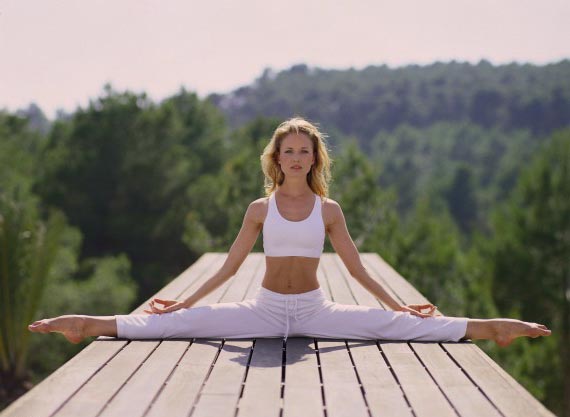
Cross twine exercises are very good for your health..
Preparatory phase – warm-up
Content
- Preparatory phase – warm-up
- The main stage – stretching exercises
- Final Stage – Transverse Twine
We all know that without a preliminary warm-up and warm-up of muscles, not a single workout is complete. Before you begin to perform exercises for transverse twine, it is worth preparing your body for the load. A preliminary warm-up lasts about half an hour and looks something like this:
- circular movements of the shoulders;
- circular movements of the head;
- pull up and lower down the arms locked into the lock;
- torso left-right, back and forth. Watch your knees, legs should be kept straight;
- palms reach the floor;
- circular motion of the pelvis;
- bending and extension of the legs at the knees;
- walking, jumping, and then running in place.
These exercises improve blood circulation and prepare the body for further exertion. Try to get the most out of your workout..
The main stage – stretching exercises
To sit on the transverse twine is several times more difficult than, for example, on the longitudinal. But this complex will help to achieve unprecedented success. Cross twine exercises are performed after you have stretched and stretched the muscles of the whole body.
Exercise number 1
- Starting position (etc.) – sit on the floor, spread your legs as wide as possible.
- Hands up, leaving your back perfectly straight.
- Take a few bends forward.
Exercise number 2
- I. p. – the same as in the previous exercise, hands are located in front of you.
- Stretch forward with your whole body, trying to reach your fingertips. Ideally, the body should lie on the floor.
This exercise perfectly stretches the inner and back thighs, hamstrings.
Exercise number 3
This exercise is considered basic, without it, transverse twine at home is unlikely to work.
- I. p. – standing, we place our feet shoulder width apart.
- Wrap your arms around your elbows and stretch your forearms down.
- Try to reach the floor.
- Put your feet a little narrower and repeat again.
- Go back to and. P.
Exercise number 4
- I. p. – standing, we place our feet shoulder width apart.
- Lower your hands in front of you, palms down.
- The back is straight, the chin is slightly raised..
- Very slowly and smoothly spread both legs apart, trying to reduce the distance between the body and the floor. As soon as your hands touch the floor, lean on your hands and try to spread your legs even wider.
This exercise for transverse twine is convenient to do on the floor, laminate or linoleum – this way the legs glide better. Did you feel severe pain? Take a break for a couple of minutes and do a couple more approaches.
Exercise number 5
- I. p. – feet at shoulder width parallel to each other, palms – on the lower back or hips at the back (this exercise also helps to pump the abs muscles).
- Bend your torso back as if you want to see your own heels..
This exercise develops back flexibility and is a good compensation for leaning forward..
Exercise number 6
- I. p. – we have legs shoulder width apart, arms are lowered along the body.
- Tilt your torso forward parallel to the floor, arms extended in front of you (you can cross them into the castle). Look in front of you. Pay attention to the legs – muscle tension should be felt.
- Make a deep slope and reach with your hands to the floor. Neck and collar area relaxed, knees straight.
- Swing from side to side, achieving the desired effect.
- Take the starting position again, grasp your forearms and make a deep deflection – another step towards the transverse twine.
Exercise number 7
- I. p. – legs wide apart, socks outward, arms raised up.
- Do some slow and very deep squats. The back remains straight, the hips are deployed, the gaze is directed forward.
- In this position, hold for 30 seconds. Repeat several times..
Exercise number 8
- I. p. – place your legs as wide as possible, arms to the sides.
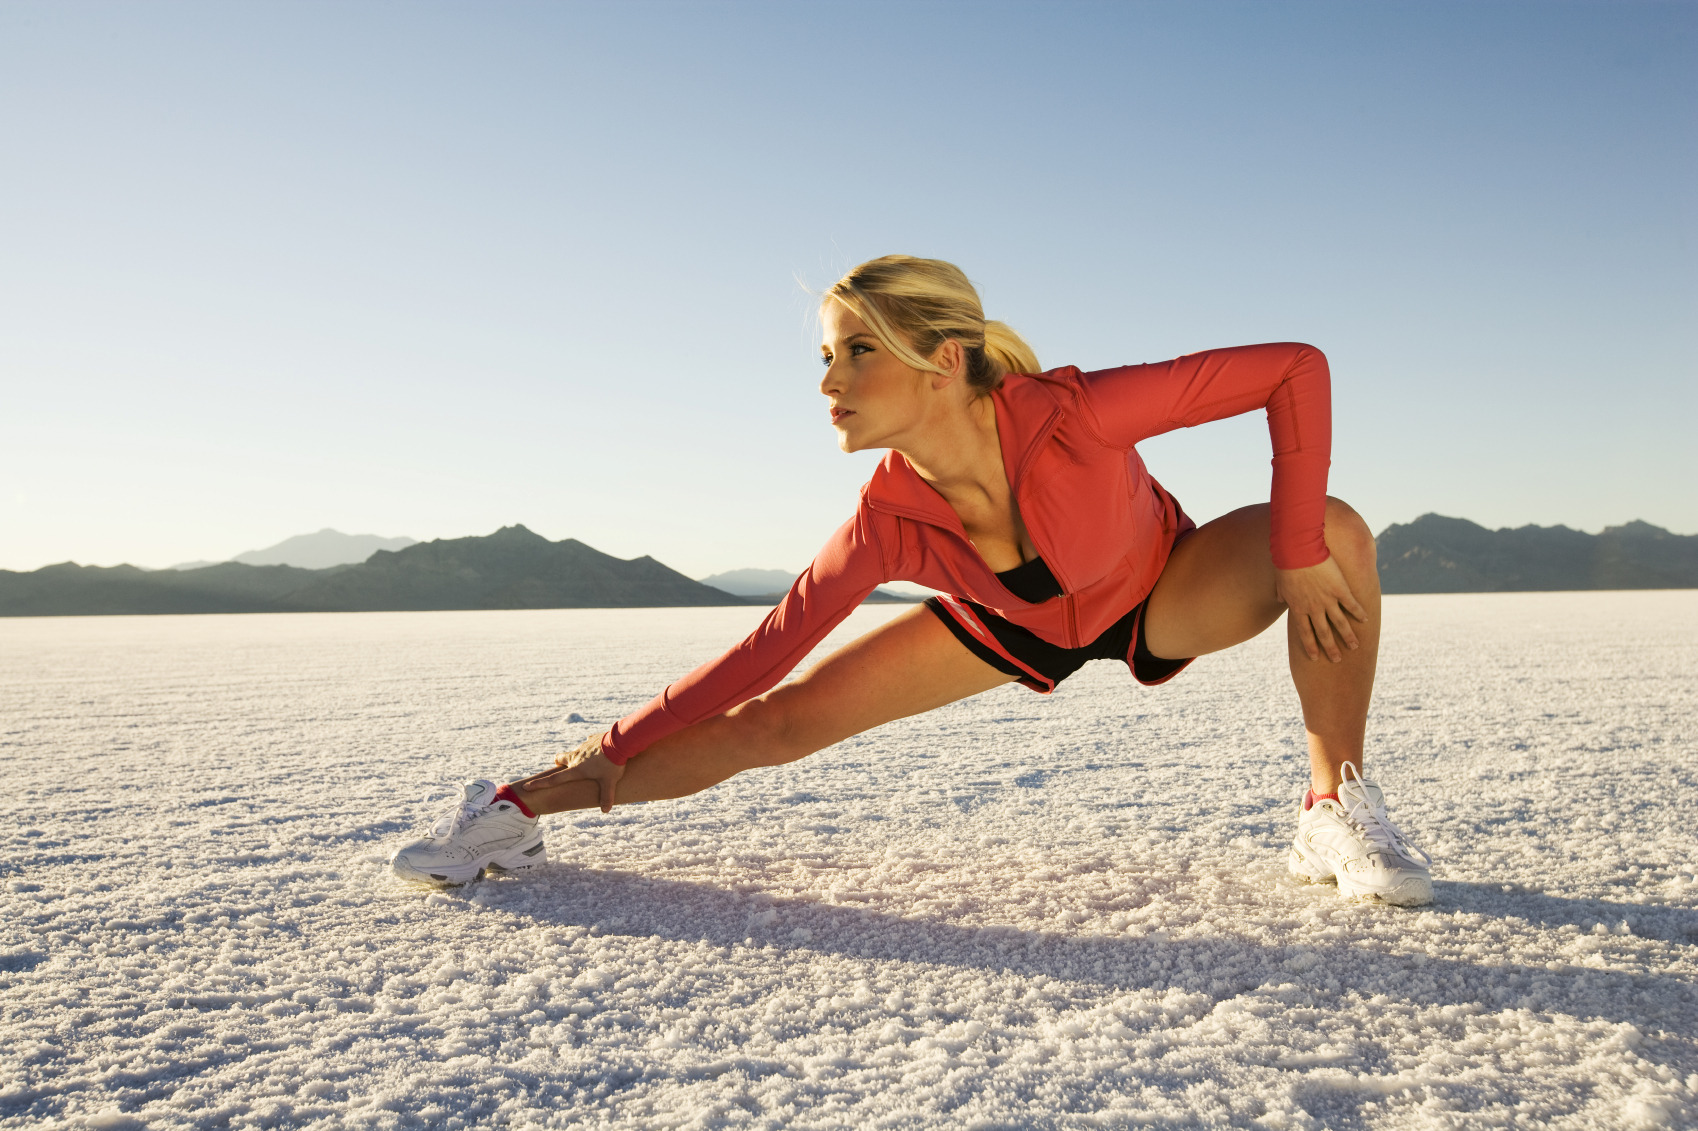
- Lunge right and left. Bend one leg at the knee, stretch the other as much as possible, to the very tips of the fingers.
Exercise number 9
- I. p. – legs should be placed shoulder width apart, lower your arms along the torso.
- Bend your leg, lift up and turn to the side.
- Grasp the shin with the same hand.
- Stretch up with your whole body, focusing on the support foot.
- Stand back and perform for the other leg..
Exercise number 10
- I. p. – legs should be placed shoulder width apart, arms are lowered along the body.
- With your left foot, take a step forward, joining hands in the castle behind.
- Take your shoulders back, maximizing your chest, and bend well.
- Take and. n. and repeat for the right leg.
Exercise number 11
- I. p. – put your legs together, lower your hands along the body.
- Make a deep tilt and touch the chin of one knee.
- Get back into and. n., perform again, only for the other knee.
Exercise number 12
Cross twine will require you to perform very complex exercises. Here is one of them:
- I. p. – put your legs together, lower your hands along the body.
- Make a deep lean forward.
- Grab your heels.
- Stretch down with your whole body, trying to touch the floor with your head.
Exercise number 13
- I. p. – sitting on a hard surface, legs to the maximum spread apart.
- Grasp the feet with both hands and pull them towards you.
- Straighten your back and stretch up with your whole body.
- Rest on the floor with both hands (one behind your back, the other in front) and lift your body slightly.
- Pull the toe of the right foot towards you, while the left pull forward. Change their position several times.
Exercise number 14
- I. p. – legs are spread as wide as possible, socks are turned to the sides, lower your hands along the body.
- Sit down as low as you can, lean forward.
- Place both hands on the floor, transfer body weight to them and bend your back.
- Staying in this position, carefully extend your legs to the sides.
- Keep your inner and outer thigh muscles tight. Do not lower your head or look deep into the squat..
Final Stage – Transverse Twine

Cross twine – a beautiful gymnastic exercise.
After you have completed a set of exercises for stretching your legs and the whole body, proceed to training the twine. It should be noted that by nature, in different people, the eversion of the hip joints is expressed to varying degrees (the pelvis is opened). This anatomical factor also affects the rate of achievement of the result. Therefore, if you already get the longitudinal twine easily, but with the transverse one, while there are difficulties, do not be discouraged. You just need to put in more effort and patience..
The last exercise is the transverse twine itself. Complete their stretching workout with enough time to complete.
Exercise number 15
Check yourself and evaluate your own strength, then try to lower yourself to the transverse twine. Do this gently and slowly so as not to damage the ligaments and muscles of the legs. Happened? That’s great! No wonder you trained so hard and for a long time. If the attempt is unsuccessful, be patient and continue your studies. We are sure that just a little bit is left before a good transverse twine at home.

Cross twine at home – it’s real, you just want to!


